Friday, January 29, 2021

How to enter service mode of Daewoo DSC3210E color TV- Full Schematic


DAEWOO Color Television CHASSIS : SC-140 Model : DSC-3210E

Service mode

To switch the TV set into service mode please see instruction below.

1 - Select pr. number 91
2 - Adjust sharpness to minimum and exit all menu.
3 - Quickly press the key sequence : RED - GREEN – Menu

To software version is displayed beside the word Service, e.g. “ SERVICE V1.00A”.

To exit SERVICE menu press menu key or St-By key.

Service mode navigation

Pr Up or Down remote keys > cycle through the service items available.

Vol [ - +] remote keys > Decrement / Increment the values within range.

0~7 digit keys > Toggle bits 0~7 in option byte.

Default settings for wp 895

Microcontroller configuration : Option bits
These option bits are available from Service mode. First find the OPTION control, and then use keys 0...7 on the remote keypad to control bits 0 to 7 respectively. The table below shows the options available.  [Set all the unused bits, marked 'X', to be 0 for future compatibility.]

Local oscillator alignment
Tune a color bar pattern. The Frequency of the signal carrier must be accurate (Max +/- 10khz deviation from the nominal channel frequency).
Find "AFT" item in service mode.
Adjust the coil L150 to bring the cursor to central position : 32.

G2 alignment
- Tune a color bar pattern.
- Find the "G2 - SCREEN" item in service mode.
- Adjust screen volume (on FBT) to bring the cursor to central position : 32.

White balance
- Select a dark picture and adjust RED BIAS and GRN BIAS to the desired colour temperature.
- Select a bright picture and adjust REC, GRN and BLUE GAIN to the desired dolour temperature.

White balance
- Select a dark picture and adjust RED BIAS and GRN BIAS to the desired colour temperature.
- Select a bright picture and adjust REC, GRN and BLUE GAIN to the desired dolour temperature.

Vertical geometry
Adjust V.LINEAR (linearity), S CORRECT
(S. Correction), VERT SIZE (Vertical amplitude),
VERT CENT (vertical canting) to compensate for vertical distortion.

Horizontal picture centering
Adjust HOR CEN(Horizontal center) to have the picture in the center of the screen.

Ea-West 
Adjust the PARABOLA, HOR WIDTH, CORNER, HOR PARAL, EW TRAPEZ, H BOW, to compensate for geometrical distortion,

AGC
- Adjust the antenna signal level at 70 dB V 2
- Tune a color bar pattern.
- Find the “ AGC” item in service mode.
- Adjust AGC volume ( RB10 ) to bring the cursor to central position : 32.

Data Capture
The Video Front End section takes in the analogue Composite Video and Blanking Signal (CVBS), and from this extracts the required data, which is then decoded and stored in memory.  The extraction of the data is performed in the digital domain. The first stage is to select and convert the analogue CVBS signal into a digital form. This is done using 8 bit ADC sampling at 20.25 Mhz.  The digital data services transmitted in the VBI are selected and acquired separately form the video part. This is done by the use of an adaptive data slicer. The following data types can be extracted : 625 line World System Teletext (WST), VPS, WSS. The data is acquired and decoded by the teletext decoder (TPU), then stored in an SRAM interface.

Data Capture Features
Video Signal Quality detector
Data Capture for 625 line WST
Data Capture for VPS data (PDC system A)
Data Capture for Wide Screen Signaling (WSS) bit decoding
Real-time capture and decoding for WST Teletext in Hardware, to enable optimized microprocessor throughput 10 page memory stored On-Chip.

Inventory of transmitted Teletext pages stored in the Page Table
Signal quality detector for WST data
Comprehensive Teletext language coverage
Full Field Vertical Blanking Interval (VBI) data capture of WST data.

MSP341x Multi-standard Sound Processor
The MSP 341x is designed as a single-chip Multi-standard Sound Processor for applications in analogue and digital TV sets, video recorders, and PC cards.

The MSP3411 has all functions of MSP3410 with the addition of a virtual surround sound feature.
A Surround sound affect can be reproduced with two loudspeakers. The MSP3411 includes virtualized algorithm “3D Panorama "which has been approved by the Dolby laboratories for compliance with the “ Virtual Dolby Surround "technology. In addition, the MSP3411 includes Micronase “  panorama” algorithm.

MSP 341x features :
- sound IF input
- No external filters required
- Stereo baseband input via integrated AD converters
- Two pairs of DA converters
- Two carrier FM or NICAM processing
- AVC : Automatic Volume Correction
- Bass, treble, volume processing
- Full SCART in/out matrix without restrictions
- Improved FM-identification
- Demodulator short programming
- Autodetection for terrestrial TV - sound standards
- Precise bit-error rate indication
- Automatic switching from NICAM to FM/AM or vice versa
- Improved NICAM synchronization algorithm
- Improved carrier mute algorithm
- Improved AM-demodulation
- Reduction of necessary controlling
- Less external components.

Demodulator and NICAM Decoder Section

The MSP 341x is designed to simultaneously perform digital demodulation and decoding of NICAM-coded TV stereo sound, as well as demodulation of FM or AM mono TV sound. Alternatively, two carrier FM systems according to the German terrestrial specs can be processed with the MSP 341x.

The MSP 341x facilitates profitable multi-standard capability, offering the following advantages:
- Automatic Gain Control (AGC) for analogue input: input range: 0.10 - 3 Vpp
- integrated A/D converter for sound-IF input
- all demodulation and filtering is performed on chip and is individually programmable
- easy realization of all digital NICAM standards (B/G, I, L and D/K)
- FM-demodulation of all terrestrial standards (include identification decoding)
- no external filter hardware is required
- only one crystal clock (18.432 MHz) is necessary.

DSP-Section (Audio Baseband Processing)
- flexible selection of audio sources to be processed
- performance of terrestrial de-emphasize systems (FM, NICAM)
- digitally performed FM-identification decoding and de-matrixing
- digital baseband processing: volume, bass, treble
- simple controlling of volume, bass, treble.

Analogue Section
- two selectable analogue pairs of audio baseband input (= two SCART inputs) input level: <2 V RMS,
input impedance: >25
- one selectable analogue mono input (i.e. AM sound): Not used in this chassis
- two high-quality A/D converters, S/N-Ratio: >85 dB
- 20 Hz to 20 kHz bandwidth for SCART-to-SCART copy facilities
- loudspeaker: one pair of four-fold oversampled D/A converters. Output level per channel:
max. 1.4 VRMS output resistance: max. 5 . S/N-ratio: >85 dB at maximum volume Max.
noise voltage in mute mode: < 10 V (BW: 20 Hz... 16kHz)
- one pair of four-fold oversampled D/A converters supplying a pair of SCART-outputs.
output level per channel: max. 2 V RMS, output resistance: max. 0.5 , S/N-Ratio: >85 dB (20 Hz... 16 kHz)

NICAM plus FM/AM-Mono

According to the British, Scandinavian, Spanish, and French TV-standards, high-quality stereo sound is transmitted digitally. The systems allow two high-quality digital sound channels to be added to the already existing FM/AM-channel. The sound coding follows the format of the so-called Near Instantaneous Commanding System
(NICAM 728). Transmission is performed using Differential Quadrature Phase Shift Keying (DQPSK. Table below offers an overview of the modulation parameters.)
In the case of NICAM/FM (AM) mode, there are three different audio channels available: NICAM A, NICAM B, and FM/AM-mono. NICAM A and B may belong either to a stereo or to a dual language transmission. Information about operation mode and about the quality of the NICAM signal can be read by the controlling software via the control bus.
In the case of low quality (high bit error rate), the controlling software may decide to switch to the analogue FM/AM mono sound. Alternatively, an automatic NICAM-FM/AM switching may be applied.

German 2-Carrier System (DUAL FM System)
Since September 1981, stereo and dual sound programs have been transmitted in Germany using the 2-carrier system.
Sound transmission consists of the already existing first sound carrier and a second sound carrier additionally containing an identification signal. More details of this standard are given in Tables below. For D/K very similar system is used.

TDA 4470-Multistandard Video-IF and Quasi Parallel Sound Processor.  TDA 4470 is an integrated bipolar circuit for multi-standard video/sound IF (VIF/SIF) signal processing in TV/VCR and multimedia applications. The circuit processes all TV video IF signals with negative modulation (e.g., B/G standard), positive modulation (e.g., L standard) and the AM, FM/NICAM sound IF signals.

Features
- 5V supply voltage ; low power consumption.
- Active carrier generation by FPLL principle (frequency-phase-locked-loop) for true synchronous demodulation.
- Very linear video demodulation, good pulse response and excellent intermodulation figures.
- Alignment-free AFC without external reference circuit, polarity of the AFC curve is switchable.
- VIF-AGC for negative modulated signals (peak sync. detection) and for positive modulation (peak white/black level detector).
- Tuner AGC with adjustable take over point.
- Alignment-free quasi parallel sound (QPS) mixer for FM/NICAM sound IF signals.
- Intercarrier output signal is gain controlled (necessary for digital sound processing).
- Complete alignment-free AM demodulator with gain controlled AF output.
- Separate SIF-AGC with average detection
- Two independent SIF inputs
- Parallel operation of the AM demodulator and QPS mixer (for NICAM-L stereo sound).

The TDA8944J( TDA 8946J) is a dual-channel audio power amplifier with an output power of 2 x 7W (2 X 15W) at an 8 load and a 12V supply. The circuit contains two Bridges Tied Load(BTL) amplifiers with an all-NPN output stage and standby/mute logic. The TDA8944J comes in a 17-pin DIL power package.

The TDA835xJ are power circuit for use in 90o and 110o color deflection systems for field frequencies of 25 to 200Hz and 16/9 picture tubes. The circuit provides a DC driven vertical deflection output circuit, operating as a highly efficient class G system. Due to the full bridge output circuit the deflection coils can be DC coupled.
The IC is constructed in a Low Voltage DMOS process that combines Bipolar, CMOS and DMOS devices.
MOS transistors are used in the output stage because of the absence of second breakdown.

The TDA6107Q includes three video output amplifiers in one plastic DIL-Bent-SIL 9-pin medium power package, using high voltage DMOS technology, and is intended to drive the three cathodes of a color CRT directly. To obtain maximum performance, the amplifier should be used with black-current control.

Features
- Typical bandwidth of 5.5 MHz for an output signal of 60 Vpp
- High slew rate of 900V/ s
- No external components required
- Very simple application
- Single supply voltage of 200V
- Internal reference voltage of 2.5 V
- Fixed gain of 50.
- Black-current stabilization (BCS) circuit
- Thermal protection.

The STR-F6654 is an hybrid IC with a build-in MOSFET and control IC, designed for fly-back converter type switch mode power supply applications.

- Small SIP fully isolated molded 5 pins package
- Many protection functions :
* Pulse-by-pulse overcurrent protection (OCP)
* Overvoltage protection with latch mode (OVP)
* Thermal protection with latch mode (TSD)

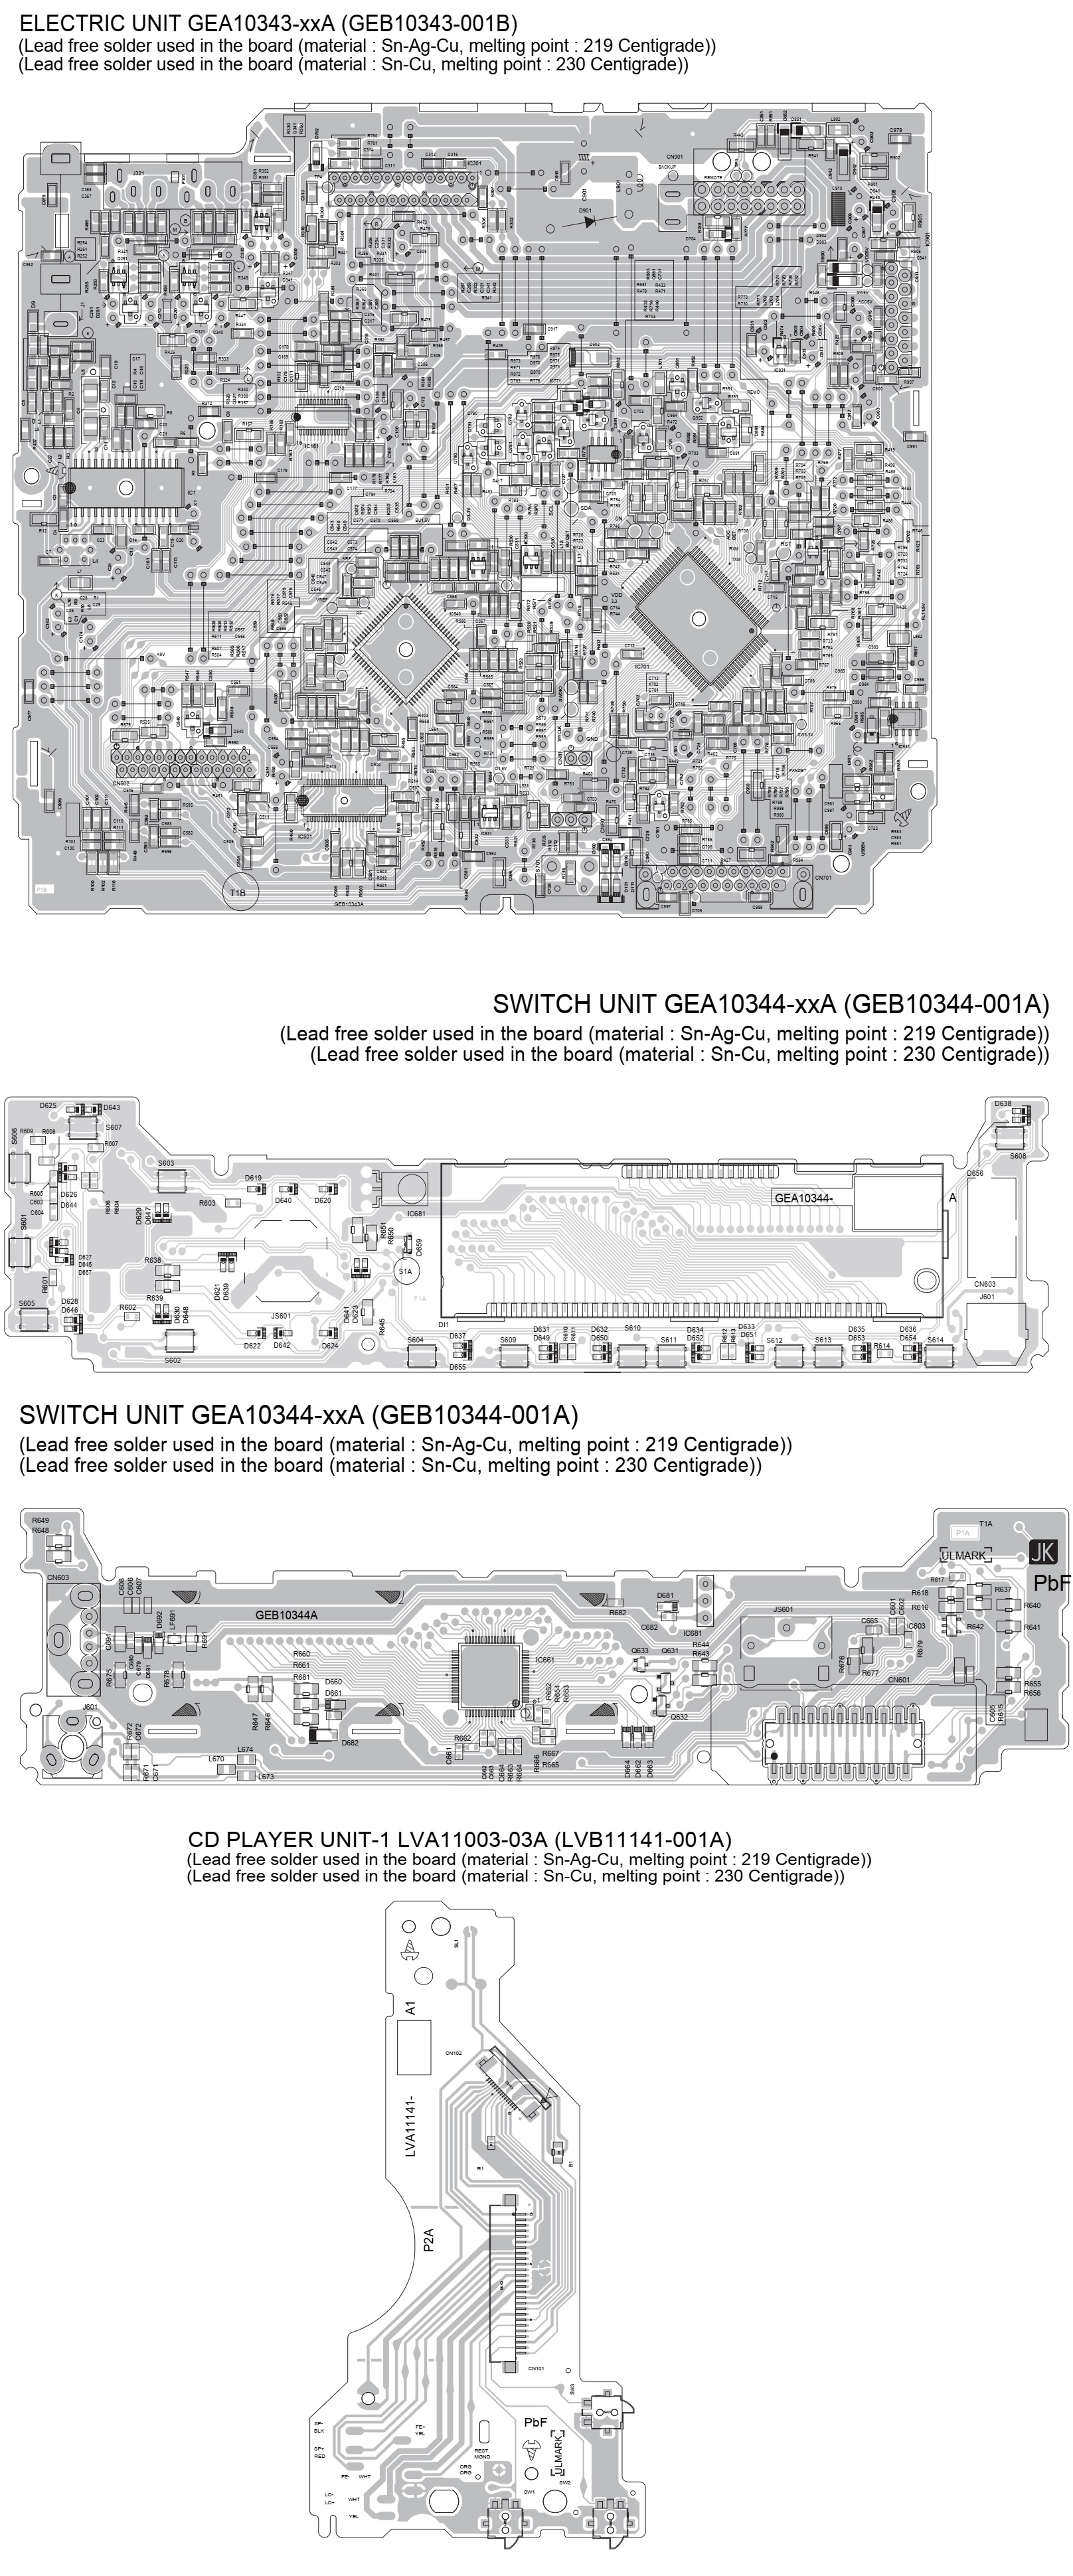
Schematic diagram and PWB


Saturday, January 23, 2021

Philips 22PFS5303, Philips 24PFS5703 LCD TV-how to upgrade the software, error codes, service mode, power supply and audio output schematic


22PFS5303-12, 22PFS5403-12, 22PFT5303-05, 22PFT5303-12, 24PFS5303-12, 24PFS5703-12 - Platform:  NT72461.  Chassis name: TPN18.1E LA

Always respect voltages. While some may not be dangerous in themselves, they can cause unexpected reactions that are best avoided. Before reaching into a powered TV set, it is best to test the high voltage insulation. It is easy to do, and is a good service precaution.

BOM identification

It should be noted that on the European Service website, “Alternative BOM” is referred to as “Design variant”.

The third digit in the serial number (example: AG2B0335000001) indicates the number of the alternative B.O.M. (Bill Of Materials) that has been used for producing the specific TV set. In general, it is possible that the same TV model on the market is produced with e.g. two different types of displays, coming from two different suppliers. This will then result in sets which have the same CTN (Commercial Type Number; e.g. 28PW9515/12) but which have a different B.O.M. number.

By looking at the third digit of the serial number, one can identify which B.O.M. is used for the TV set he is working with. If the third digit of the serial number contains the number “1” (example: AG1B033500001), then the TV set has been manufactured according to B.O.M. number 1. If the third digit is a “2” (example: AG2B0335000001), then the set has been produced according to B.O.M. no. 2. This is important for ordering the correct spare parts.

For the third digit, the numbers 1...9 and the characters A...Z can be used, so in total: 9 plus 26= 35 different B.O.M.s can be indicated by the third digit of the serial number.

Identification: The bottom line of a type plate gives a 14-digit serial number. Digits 1 and 2 refer to the production centre (e.g. SN is Lysomice, RJ is Kobierzyce), digit 3 refers to the B.O.M. code, digit 4 refers to the Service version change code, digits 5 and 6 refer to the production year, and digits 7 and 8 refer to production week (in example below it is 2010 week 10 / 2010 week 17). The 6 last digits contain the serial number.

Board Level Repair (BLR) or Component Level
Repair (CLR)

If a board is defective, consult your repair procedure to decide if the board has to be exchanged or if it should be repaired on component level.

If your repair procedure says the board should be exchanged completely, do not solder on the defective board.
Otherwise, it cannot be returned to the O.E.M. supplier for back charging.

Cable dressing

Service Alignment Mode (SAM)

To activate SAM, use one of the following methods:
Press the following key sequence on the remote control transmitter:
062596, directly followed by the INFO/OKbutton. Do not allow the display to time out between entries while keying the sequence.
Or via ComPair.
After entering SAM, the following items are displayed, with “SAM” in the upper right corner of the screen to indicate that the television is in Service Alignment Mode.

How to Navigate

In the SAM menu, select menu items with the UP/DOWN keys on the remote control transmitter. The selected item will be indicated. When not all menu items fit on the screen, use the UP/DOWN keys to display the next/previous menu items.
With the “LEFT/RIGHT” keys, it is possible to:
(De) activate the selected menu item.
(De) activate the selected sub menu.
Change the value of the selected menu item.

When you press the MENU button once while in top level SAM, the set will switch to the normal user menu (with the SAM mode still active in the background).

How to Store SAM Settings

To store the settings changed in SAM mode (except the RGB Align settings), leave the top level SAM menu by using the POWER button on the remote control transmitter or the television set. The mentioned exceptions must be stored separately via the STORE button.

How to Exit SAM

Use one of the following methods:
Switch the set to STANDBY by pressing the mains button on the remote control transmitter or the television set.
Via a standard RC-transmitter, key in “
00” sequence.
Note: When the TV is switched “off” by a power interrupt while in SAM, the TV will show up in “normal operation mode” as soon as the power is supplied again. The error buffer will not be cleared.

How to Activate the Factory mode

To activate the Factory mode, use the following method:
Press the following key sequence on the remote control transmitter: from the
menu/homepress 1999, directly followed by the Back/Returnbutton.  Do not allow the display to time out between entries while keying the sequence.
After entering the Factory mode, we can see many items displayed, use the
UP/DOWN keys to display the next/previous menu items.

How to Exit the Factory mode
Use one of the following methods:
Select EXIT_FACTORY from the menu and press the “OK” button.
Note: When the TV is switched “off” by a power interrupt, or normal switch to “stand-by” while in the factory mode, the TV will show up in “normal operation mode” as soon as the power is supplied again. The error buffer will not be cleared.

Software Upgrading, Error code and Panel Code

The following update is for .pkg file.
1. Rename the file to “upgrade_loader.pkg”.
2. Prepare a USB memory (File format: FLAT, Size: 1G~8G).
3. Copy the software to USB flash disk (root directory).
4. Switch off the TV and Insert the USB memory stick that contains the software update files in one of the TV’s USB 2.0 port.
5. Switch on the TV. The TV will detect the USB memory stick automatically.

6. When the TV software is updated, the TV will turn on again automatically. Remove your USB flash drive.
7. We can enter in CSM to check the current software version.

The following update is for .upg file.

Rename the file to “Autorun.upg”.
2. Prepare a USB memory (File format: FLAT, Size: 1G~8G).
3. Copy the software to USB flash disk (root directory).
Note the version of this F/W before you change the software file name.

F/W Upgrade
1. Plug the USB memory on the TV’s USB 2.0 port.
2. AC on (Power plug).
3. TV will show message as below image, Press [Start] to detect the software automatically

4. Press [Start] to start software upgrade

5. Upgrade in progress.
6. After software upgrade complete, select [Restart] to reboot TV.

Check the SW version
1. After burning software, TV will restart.
2. Press “
123654”, enter Customer Service Mode to check if the software version is correct.

Caution: Please make sure that software upgrade is finished before unplug the USB and AC power.

Error Code

Error codes are required to indicate failures in the TV set. In principle a unique error code is available for every:
• Activated (SW) protection.
• Failing I2C device.
• General I2C error.
The last five errors, stored in the NVM, are shown in the Service menu’s. This is called the error buffer.
The error code buffer contains all errors detected since the last time the buffer was erased. The buffer is written from left to right. When an error occurs that is not yet in the error code buffer, it is displayed at the left side and all other errors shift one position to the right.
An error will be added to the buffer if this error differs from any error in the buffer. The last found error is displayed on the left.
An error with a designated error code never leads to a deadlock situation. It must always be diagnosable (e.g. error buffer via OSD or blinking LED).
In case a failure identified by an error code automatically results in other error codes (cause and effect), only the error code of the MAIN failure is displayed.

How to Read the Error Buffer

You can read the error buffer in below ways:
• On screen via the SAM/CSM (if you have a picture).
Example:
ERROR: 000 000 000 000 000: No errors detected
ERROR: 013 000 000 000 000: Error code 13 is the last and only detected error
ERROR: 034 013 000 000 000: Error code 13 was detected first and error code 34 is the last detected (newest) error
• Via the blinking LED procedure (when you have no picture).

Error codes overview:  In this chassis only “layer 2” error codes are available and point to problems on the SSB. They are triggered by LED blinking when CSM is activated. Only the following layer 2 errors are defined:

How to Clear the Error Buffer
The error code buffer is cleared in the following cases:
• By using the CLEAR command in the SAM menu
• By using the CLEAR command in the Factory mode:
• By using the following key sequence on the remote control transmitter: “
062599” directly followed by the OK button.
• If the contents of the error buffer have not changed for 50 hours, the error buffer resets automatically.
Note: If you exit SAM by disconnecting the mains from the television set, the error buffer is not reset.

Panel Code
Press the following key sequence on a standard RC transmitter: “062598” directly followed by MENU and “xxx”, where “xxx” is a 3 digit decimal value of the panel type: see column “Display Code” in below tab. After resetting the Display Code, restart the set immediately.

Power layout SSB

Power supply schematic


715G9368 SSB System POWER


Audio output schematic


Friday, January 22, 2021

Kenwood CD receiver KDC-2023, KDC-2024SA full schematic, system control IC pin function details


Kenwood CD receiver KDC-2023, KDC-2024SA/SG/SYA/SYG, KDC-2094YA/YG, KDC-222/S, KDC-3023

For continued safety, replace safety critical components only with manufacturer's recommended parts.  To reduce the risk of electric shock, leakage-current or resistance measurements shall be carried out (exposed parts are acceptably insulated from the supply circuit) before the appliance is returned to the customer.
 DC voltages are measured with a high impedance voltmeter. Values may vary slightly due to variations between individual instruments 
and units.

CD mechanism extension cord : WO5-0618-00

CD player schematic. Hu


System microcontroller Destination type list.

Kenwood KDC-2023, 2024A/SG/SYA/SYG, 2094YA/YG, 222/S,3023 MICROCOMPUTER'S TERMINAL DESCRIPTION - MECHANISM MICROCOMPUTER MN6627771KP (X32 : IC2)

Kenwood 2024A/SG/SYA/SYG, 2094YA/YG, 222/S,3023 - MICROCOMPUTER'S TERMINAL DESCRIPTION

Kenwood KDC-2023, 2024A/SG/SYA/SYG, 2094YA/YG, 222/S,3023 COMPONENTS DESCRIPTION


Sunday, January 10, 2021

How to enter Service mode of JVC KDR440, JVC KDR540 - CD receiver, Adjustments, Schematic diagram.


KD-R440J, KD-R440JW, KD-R441E, KD-R441EN, KD-R441EU, KD-R441EY, KD-R442E, KD-R442EN, KD-R442EY, KD-R443E, KD-R443EN, KD-R443EY, KD-R444UI, KD-R445U, KD-R445UN, KD-R446EU, KD-R446U, KD-R446UN, KD R446UP, KD-R446UT, KD-R447EE, KD-R449E, KD-R449EE, KD-R449UR, KD-R540J, KD-R541E, KD-R541EN, KD-R541EY, KD-R547EE

Service Test mode

Default status immediately after the mode activation
Operating Key: [MENU] + [ |<< ]. Press and hold for (7) seconds.

How to release each Test mode.
• Reset
• Acc off
• Power off
• Panel Detach

Mode content.
Syscon shall display the following information after entering this mode. The operation shown below shall be workable.


Service Information Clear Mode.

Default status immediately after the mode activation.
 The receiver is connected with the DC power supply (with the power supply turned off).
Operating Key: [BACK] + [POWER]. 

Press and hold + DC power supply turned ON.

How to release each Test mode.
• Reset
• Acc off
• Power off
• Panel Detach

Mode content.
After entering this mode, Syscon shall clear the information stored for service and output the result to the display tube.
CD will be ejected upon process ended.
Preset Frequencies and Tagging (HD models) information shall be cleared.

DC error information mode.

Default status immediately after the mode activation.
 The receiver is connected with the DC power supply (with the power supply turned off).
Operating Key: [MENU] + [ >>|] 

Press and hold + DC power supply turned ON

How to release each Test mode
• Reset
• Acc off
• Power off
• Panel Detach

Mode content.
Syscon shall display the following information after entering this mode. The operation shown below shall be workable.

DC offset error description

DC offset detection circuit design
 Purpose:
To prevent breakdown, burning and emitting smoke from customer's car speaker when occur DC offset between speaker output "+" and "-".
 Target:
Detect DC offset, then stop the Power Amp operation and shift to specified condition.

Possible causes of DC offset at speaker output lines.
(1) Mis-connection for speaker output for example touch to car body or battery line.
(2) Current leak of coupling capacitor for Power IC input.
(3) Current leak of AC-GND capacitor for Power IC AC-GND.
(4) Capacitor shorted of above parts due to foreign object.

To detect DC offset Error.
 Mis-connection
- Short any one speaker out line to GND or Vcc
 Capacitor leak
- Parallel 330kΩ to either any one of coupling cap or AC-GND cap (to simulate current leakage of capacitor)
- Shorted either any one of coupling cap or AC-GND cap.

Manipulate after detect DC offset.
 If detected error 10 consecutive times, and 10th error occurred in "Mis-connect detection period", judge as "Mis-connect".
 If detected error 10 consecutive times, and 10th error occurred in "Capacitor leak detection period", judge as "Capacitor leak ".
 If detected error 10 consecutive times, and 10th error occurred in "Other detection period" and detected another 10 errors consecutively, then judge as "Other".
 If judge as "Mis-connect". - turn off speaker output.

- display "MIS WIRING" > "CHK WIRING" > "THEN RESET" > "UNIT".
- key access disable except button of Eject, Reset and service mode.
- record error in EEPROM "DC1 ERR"
- Set is able to be recovered by Reset button.

 If judge as "Capacitor leak ".
- turn off speaker output.
- display "WARNING" > "CHK WIRING" > "THEN RESET" >"UNIT".
- key access disable except button of Eject, Reset and service mode
- record error in EEPROM "DC2 #" (# means counter number)
- Set can be recovered by pressing the Reset button before the capacitor leak error counter reach "DC2 4".
After that, only clear the counter back to "0" can recover the set.
 If judge as "Other" (manipulation same as mis-connect)

How to cancel DC offset error.

Check to be sure the terminals of the speaker leads are covered with insulating tape properly, then reset the unit.
If an error message does not disappear even after a reset, there is a need for internal repair.

How to clear DC offset error recorded in EEPROM.

DC Error Information Mode is started.
[MENU] + [ >>|] Press and hold + DC power supply turned ON
DC1 ERR > [ >>|] Press and hold.> DC1 OK
DC2 1-4 > [ |<<] Press and hold.> DC2 0

SCHEMATIC DIAGRAM.


JVC CD receiver KDR446 - how to disassemble the mechanism

 Applicable to models: KD-R440J, KD-R440JW, KD-R441E, KD-R441EN, KD-R441EU, KD-R441EY, KD-R442E, KD-R442EN, KD-R442EY, KD-R443E, KD-R443EN, KD-R443EY, KD-R444UI, KD-R445U, KD-R445UN, KD-R446EU, KD-R446U, KD-R446UN, KD-R446UP, KD-R446UT, KD-R447EE, KD-R449E, KD-R449EE, KD-R449UR, KD-R540J, KD-R541E, KD-R541EN, KD-R541EY, KD-R547EE

DETACHABLE PANEL

KD-R440J

CP-R440JD

KD-R440JW

CP-R440JD

KD-R441E

CP-R441ED

KD-R441EY

CP-R441ED

KD-R441EN

CP-R441ED

KD-R441EU

CP-R441ED

KD-R442E

CP-R442ED

KD-R442EY

CP-R442ED

KD-R442EN

CP-R442ED

KD-R443E

CP-R443ED

KD-R443EY

CP-R443ED

KD-R443EN

CP-R443ED

KD-R444UI

CP-R444UID

KD-R445U

CP-R445UD

KD-R445UN

CP-R445UD

KD-R446EU

CP-R446UD

KD-R446U

CP-R446UD

KD-R446UN

CP-R446UD

KD-R446UP

CP-R446UD

KD-R446UT

CP-R446UD

KD-R447EE

CP-R447EED

KD-R449E

CP-R449EED

KD-R449EE

CP-R449EED

KD-R540J

CP-R540JD

KD-R541E

CP-R541ED

KD-R541EY

CP-R541ED

KD-R541EN

CP-R541ED

KD-R547EE

CP-R457EED

Power Output: 50 W per channel

Continuous Power Output (RMS): 20 W per channel into 4Ω, 40 Hz to 20 000 Hz at less than 1% total harmonic distortion.

Handling the traverse unit (optical pickup)
(1) Do not subject the traverse unit (optical pickup) to strong shocks, as it is a sensitive, complex unit.
(2) Cut off the shorted part of the flexible cable using nippers, etc. after replacing the optical pickup. For specific details, refer to the replacement procedure in the text. Remove the anti-static pin when replacing the traverse unit. Be careful not to take too long a time when attaching it to the connector.
(3) Handle the flexible cable carefully as it may break when subjected to strong force.
(4) I t is not possible to adjust the semi-fixed resistor that adjusts the laser power. Do not turn it.

Identifying the CD Mechanism

This unit is equipped with one of the two CD mechanism types below.
• FLM-HC3-1D
• FLM-HC5-1D
Before sending the mechanism for repair, please check the following and refer to the corresponding materials.

DISASSEMBLY

Main body (Used model: KD-R441E)

Removing the Bottom chassis (See Fig.1)
(1) Disengage the 7 hooks a engaging the Bottom chassis.
(2) Slide the Bottom chassis backward to remove it.

Removing the Front chassis (See Fig.2)
(1) Disengage the 4 hooks b engaging both sides of the Front chassis.

Removing the Electric unit (See Fig.3, 4 and 5)
(1) Remove the 1 screw A attaching the Top chassis. (See Fig.3)

(2) Remove the 2 screws B attaching both sides of the Top chassis. (See Fig.4)

(3) Remove the 2 screws C and 1 clamp attaching the Electric unit. (See Fig.5)

(4) Disconnect the FFC wire connected to connector CN101 of the CD mechanism. (See Fig.6)

Removing the CD mechanism (See Fig.7)

(1) Remove the 2 screws D attaching the CD mechanism.

Removing the Switch unit (See Fig.8)
(1) Remove the Volume knob.
(2) Remove the 4 screws E attaching the Rear cover.
(3) Disengage the 12 hooks c engaging the Rear cover.

CD mechanism assembly section

Removing the Mecha control board
(1) Solder the short land on the pickup. (See Fig. 1)

(2) Remove the 8 wires from the Mecha control board. (See Fig.2)

(3) Disconnect the flexible wire from the pickup connected to the connector CN102 on the Mecha control board. (See Fig.3)
(4) Remove the 2 screws A attaching the Mecha control board. (See Fig.3)

Removing the Traverse mechanism (See Fig.4, 5)
(1) Remove the 5 springs from the traverse mechanism. (See Fig.4)

(2) Remove the 3 screws B attaching the bottom frame assembly. (See Fig.5)
(3) Remove the 3 dumpers from the bottom frame assembly. (See Fig.5)

Removing the Pickup (See Fig.6, 7)
(1) Remove the 2 screws C attaching the feed bracket assembly. (See Fig.6)

(2) Remove the shaft from the TM base. (See Fig.7)
(3) Disengage the hook a on the pickup from the TM base. (See Fig.7)

Removing the Spindle motor (See Fig.8. 9)
(1) Remove the HC CL. Spring from the HC CL. base and the TM base, and then lift up the HC CL. base. (See Fig.8)

(2) Remove the HC CL. base from the holes on the TM base. (See Fig.9)

(3) Remove the 2 screws D attaching the spindle motor. (See Fig.10)

Removing the Loading motor
(1) Remove the roller arm assembly from the bottom frame assembly. (See Fig.11)

(2) Remove the 2 screws E attaching the loading motor assembly, and then remove the loading motor assembly in the direction of the arrow. (See Fig.12)