Proper
service and repair is important to the safe, reliable operation of all Funai
Equipment. The service procedures recommended by Funai and described here are
effective methods of performing service operations. Some of these service
special tools should be used when and as recommended.
Service adjustments of Philips (This chassis) PL19.00 and Funai are similar. Both sets uses the same number main board. SMPS schematics too.
Electrical adjustments are
required after replacing circuit components and certain mechanical parts. It is
important to perform these adjustments only after all repairs and
replacements have been completed.
Also, do not attempt these adjustments unless the proper equipment is
available.
Test Equipment Required
Remote
control unit (Philips Smart: RC6 code)
Color Analyzer, CA-310 (KONICA MINOLTA Luminance meter) or measuring instrument
as good as CA-310.
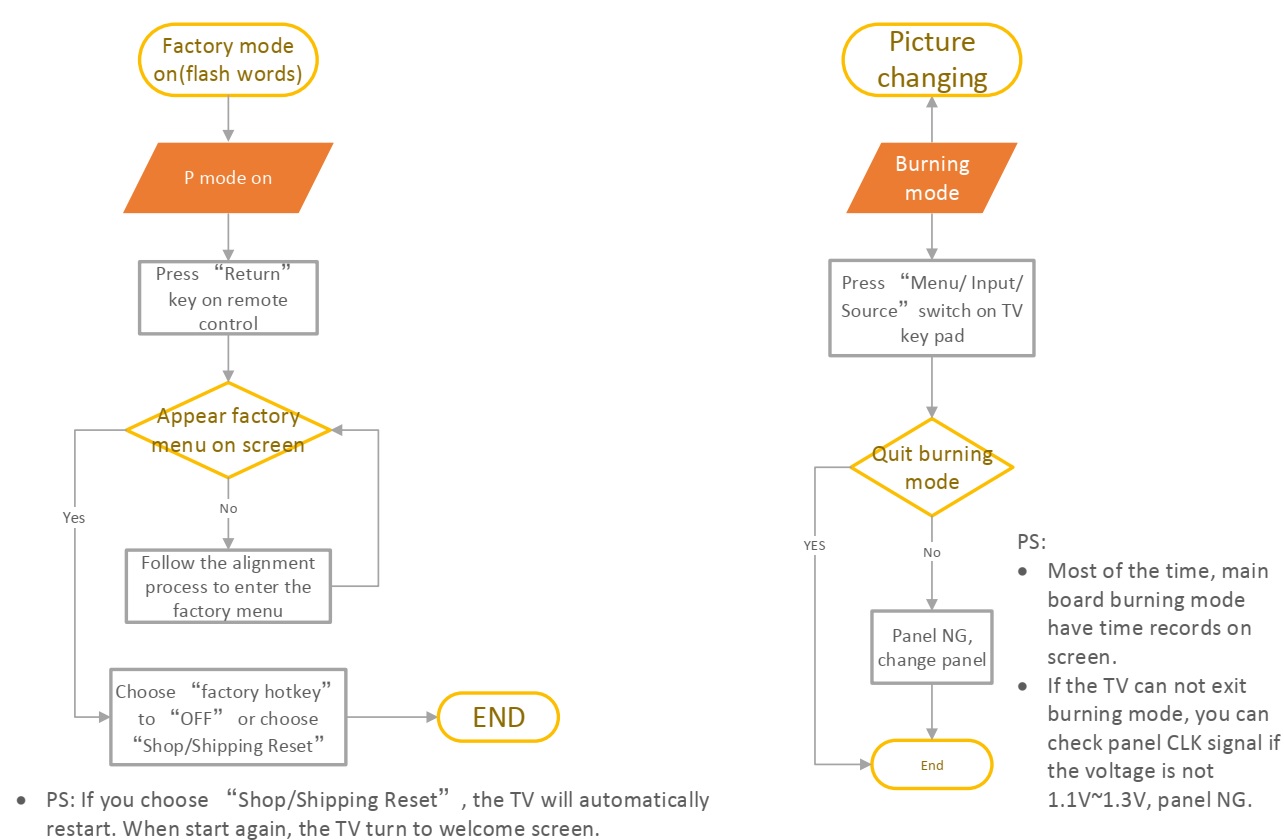
How to set up the service mode:
Service mode
1.
Turn the power on.
2. Press [0], [6], [2], [5], [9], [6], and [INFO] buttons on the remote control unit in this order. The following
screen appears.
Purity Check Mode
This
mode cycles through full-screen displays of red, green, blue, and white to
check for non-active pixels.
1. Enter the service mode.
2. Each time the [7] button on the remote control unit is pressed, the display
changes as follows.
The White Balance Adjustment should be performed when replacing the LCD
Panel, Digital Main CBA.
2. White Balance Adjustment
Purpose: To mix red and blue beams correctly for pure white.
Symptom of Maladjustment: White
becomes bluish or reddish.
1. Operate the unit for more
than 30 minutes.
2. Enter the service mode.
3. Press [VOLUME DOWN] button three times on the remote control unit to select
“Drive setting” mode. “Drive -” appears in the screen.
4. Set the color analyzer at the CHROMA mode and zero point calibration. Bring
the optical receptor pointing at the center of the LCD-Panel.
Note:
The
optical receptor must be set perpendicularly to the LCD Panel surface.
5. Press [3] button to select the “HDB” for High Drive Blue adjustment.
(“HDB” appears in the screen.)
6. Press [MENU] or [HOME]
button. The internal Raster signal appears in the screen. (“Internal (Single)”
appears in the upper right of the screen as shown below.)
7. Press [CHANNEL UP/DOWN]
buttons to adjust the colour temperature becomes 6500°K (x= 0.3127 ± 4% / y=
0.329 ± 4.5%).
8. Press [1] button to select the “HDR” for High Drive Red adjustment (“HDR”
appears in the screen.) and press [CHANNEL UP/DOWN] buttons to adjust the colour
temperature.
9. If necessary, adjust the “HDB”, “HDR” again.
10. Press [6] button to select the “MDB” for Middle Drive Blue adjustment
(“MDB” appears in the screen.) and press [CHANNEL UP/DOWN] buttons to adjust the
colour temperature.
11. Press [4] button to
select the “MDR” for Middle Drive Red adjustment (“MDR” appears in the screen.)
and press [CHANNEL UP/DOWN] buttons to adjust the colour temperature.
12. If necessary, adjust the “MDB” or “MDR” again.
13. Press [9] button to select the “LDB” for Low Drive Blue adjustment (“LDB”
appears in the screen.) and press [CHANNEL UP/DOWN] buttons to adjust the colour
temperature.

14. Press [7] button to
select the “LDR” for Low Drive Red adjustment (“LDR” appears in the screen.) and
press [CHANNEL UP/DOWN] buttons to adjust the color temperature.
15. Press [8] button to select the “LDG” for Low Drive Green adjustment (“LDG”
appears in the screen.) and press [CHANNEL UP/DOWN] buttons to adjust the color
temperature.
16. If necessary, adjust the “LDB”, “LDR” or “LDG” again.
17. Press [VOLUME DOWN] button to shift to the “Debugging Message” mode. If there is no message under “[WB]” section,
this adjustment completes. If “Drive
settings are NG. Retry again.” Is displayed, repeat above steps from 5. to 16. Then
check “Debugging Message” again. If “Drive settings are NG. Retry again.” is displayed;
replace
the LCD Panel or Digital Main CBA.
18. To cancel or to exit from the White Balance Adjustment, press [PREV. CH] button.
HOW TO INITIALIZE THE LCD TV
The purpose of
initialization is to place the set in a new out of box condition. The customer
will be prompted to select a language and program channels after the set has
been initialized.
To put the program back at the
factory-default, initialize the LCD TV using the following procedure.
Note: Disconnect
any device from the USB Port before you conduct on this procedure.
Please use the: Remote Control Unit (Philips Smart)
1. According to
above steps, enter into the service mode.
- To cancel the service mode, press [ < ] button on the remote control unit.
2. Press [Red], [2], [7], [3] buttons to implement forced the
initialized.
3. Make sure to confirm the
“INITIALIZED FINISH” appears in the green screen.
4. Unplug the AC Cord and plug it back
on again.
FIRMWARE RENEWAL MODE
Equipment Required
a. USB storage
device
b. Remote Control Unit (ROKU)
Firmware Update Procedure
User Upgrade (Filename example: update.roku)
Upgrade the firmware only. The setting
values will not be initialized.
Update procedure
Please use the: Remote Control Unit (ROKU)
1. Turn the power
on.
2. Insert the USB storage device to
the USB port as shown below.
3. Reset Roku TV.
4. Press the [Home ] button, Home - Setting - System - Advanced system settings
- Factory reset, enter into - Factory reset everything.
Ensure TV must connect the
network, press the [Home ] × 5, > < > < and [ > ] enter into wifi
connect interface.
6. Enter into Roku update
interface, press the [Home ] button × 5, [<< ] × 4,
and [>|| ] × 1 enter
into Roku update interface.
Select “USB” update.
9.
After finished the updating software, TV set will automatically reboot.
SMPS Schematic diagrams for Type A and Type B and Type C