- Shut down the notebook. If you are unsure whether the notebook is off or in hibernation, turn the notebook on, and then shut it down through the operating system.
- Disconnect all external devices connected to the notebook.
- Disconnect the power cord.
HD TYPE & PART NUMBER
5400-rpm = 80-GB 383954-001
5400-rpm = 60-GB 392575-001
4200-rpm = 100-GB 392576-001
4200-rpm = 80-GB 383953-001
4200-rpm = 60-GB 383952-001
4200-rpm = 40-GB 383951-001
- Loosen the two PM2.0×7.0 screws [1] that secure the hard drive cover to the notebook.
- Lift the left side of the cover [2] up and swing it to the right.
- Remove the hard drive cover.
- Remove the two PM2.0×7.0 hard drive retention screws [1] that secure the hard drive to the notebook.
- Slide the hard drive [2] to the right to disconnect it from the system board.
- Lift the hard drive [3] straight up and remove it from the hard drive bay.

- Remove the four PM3.0×4.5 screws [1] that secure the hard drive frame to the hard drive.
- Lift the frame [2] to remove if from the hard drive.

MEMORY MODULE
Capacity & Part Number
1024 MB = 383950-001
512 MB = 383949-001
256 MB = 383948-001
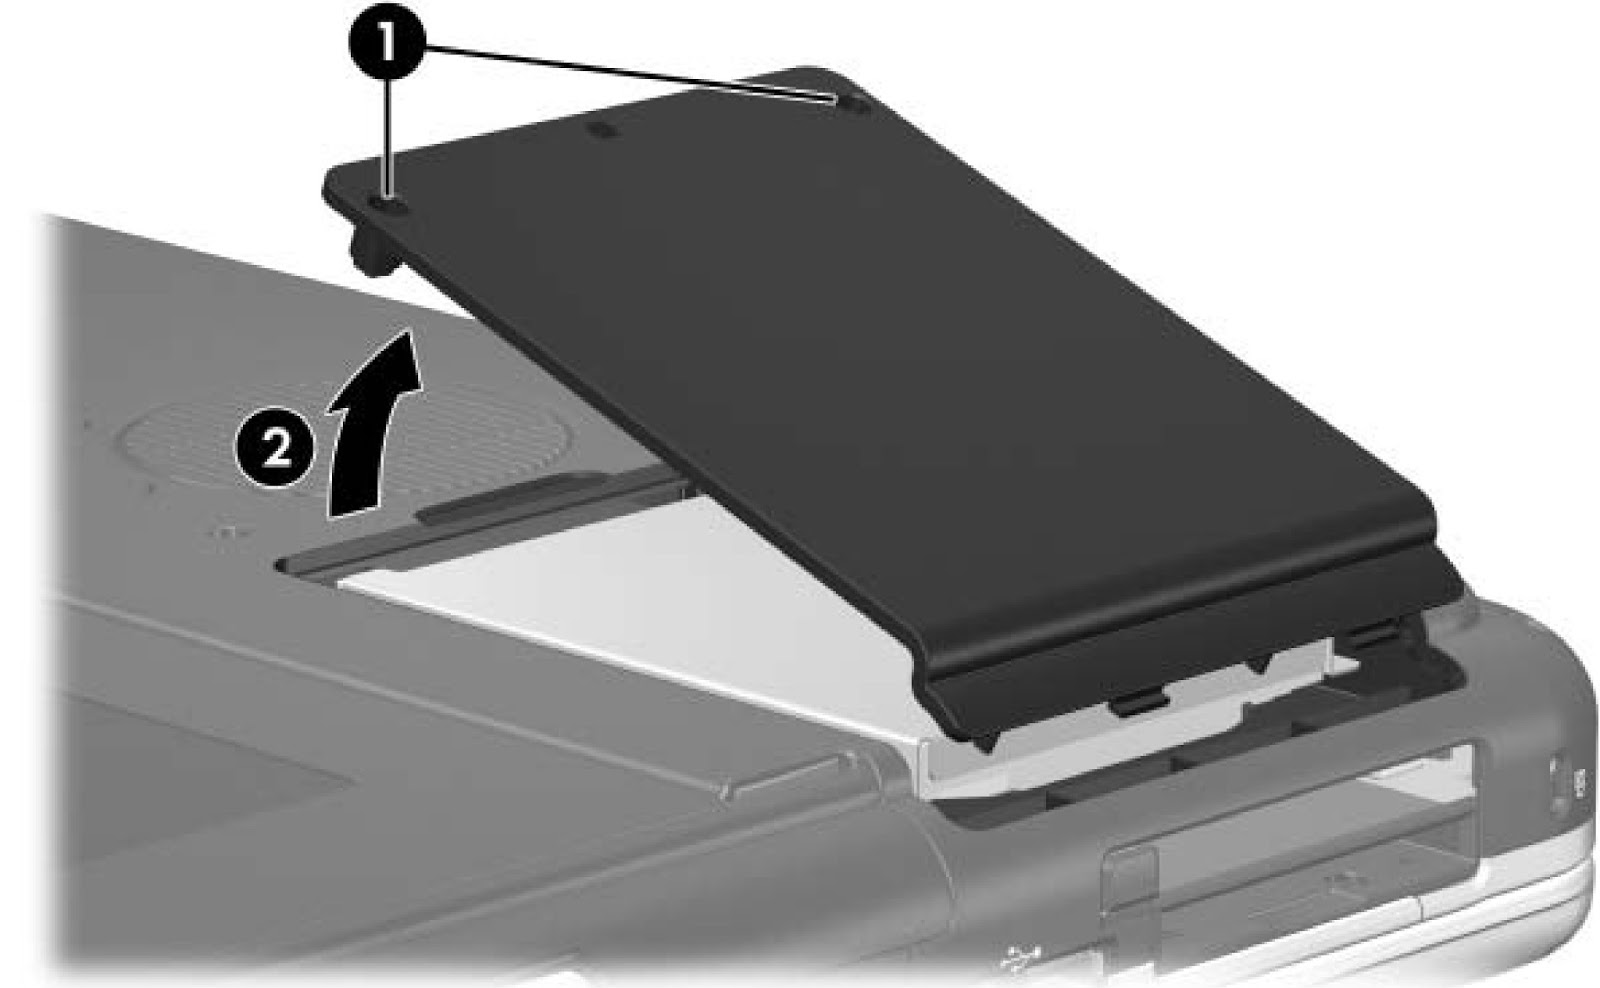
- Loosen the PM2.0×7.0 screw [1] that secures the memory module compartment cover to the notebook.
- Lift the rear edge of the cover [2] up and swing it toward you.
- Remove the memory module compartment cover.

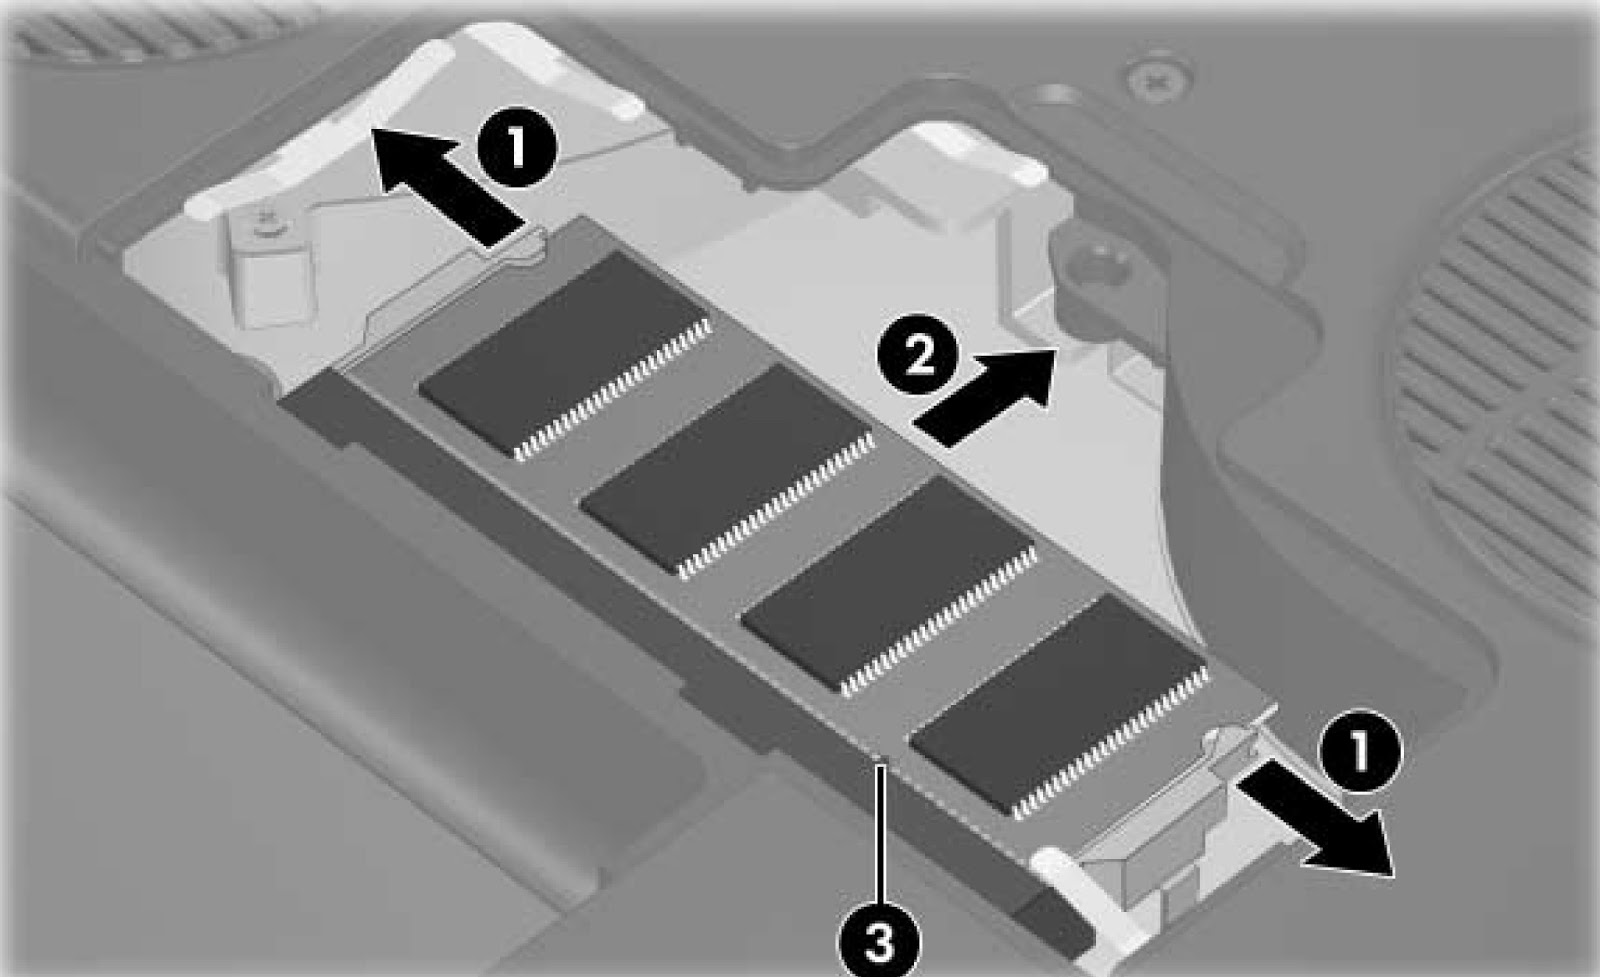
- Spread the retaining tabs [1] on each side of the memory module socket to release the memory module. (The side of the module opposite the socket rises away from the notebook.)
- Slide the module [2] away from the socket at an angle.
- Remove the memory module.