
- #0 Phillips screwdriver (magnetized)
- Torx T6 screwdriver (magnetized)
- Black stick (nylon probe 922-5065) (or other non-conductive nylon or plastic flat-blade tool
- Kapton tape (922-1731 (0.5-inch x 12-yard roll))
PART LOCATION
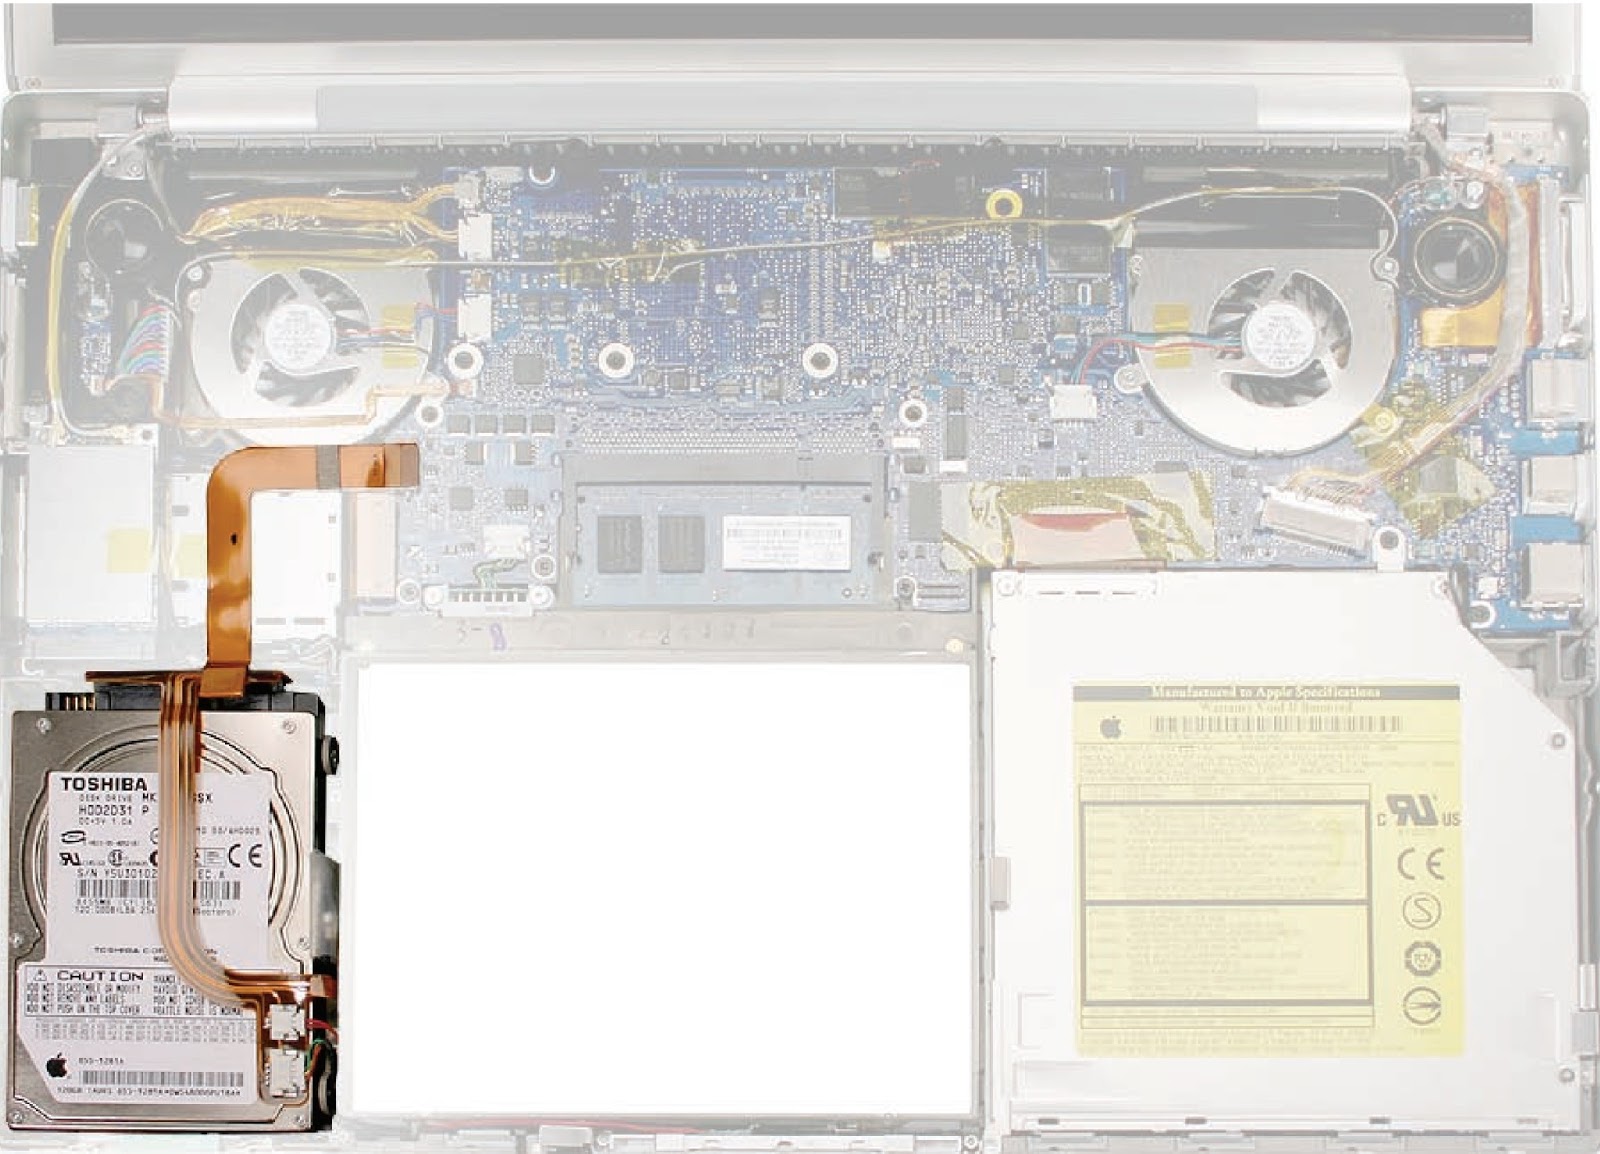
- Carefully pry up the flex cable from the hard drive.
- Lift up cabling to gain some clearance.


- Remove the two screws from the drive holder.
- Lift the hard drive up slightly to allow it to move right.


- Push the hard drive away from the left side to clear the rubber grommets, then lift up just enough to access its flex connector.
- Carefully push off the flex cable connector to disconnect it from the hard drive.


- Transfer the rubber grommets and screws.

REPLACEMENT
- Make sure that the rubber grommets fit securely into the frame holes.
- Use a black stick to lift the hard drive and guide the rubber grommets securely into the holes in the frame, while holding the bracket in place on the other grommets.


- Use a black stick to guide the hard drive past the blue tooth card.
- Press the flex cable to re-adhere it to the hard drive.

