
- Remove the two screws holding the battery door. Remove the battery door.
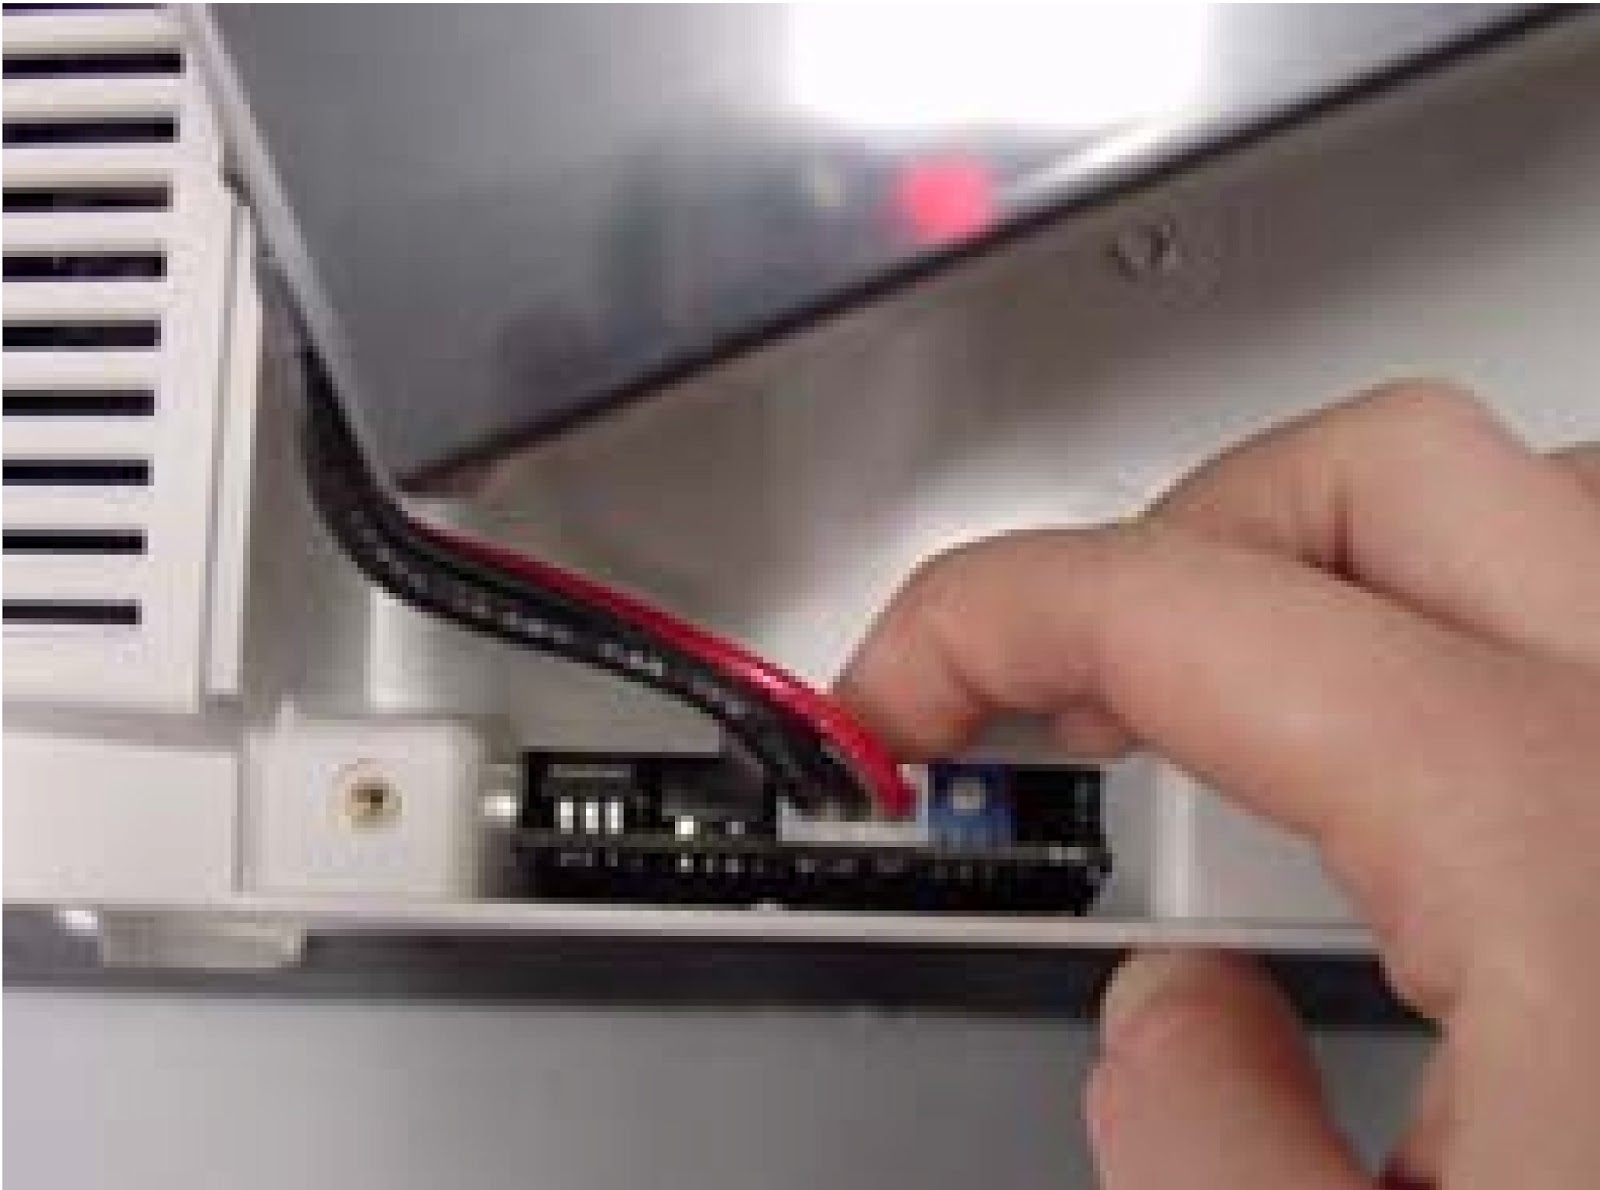
- Remove the battery connector from the main PCB. Remove battery.

Rear Housing Removal
- Remove the four Torx head machine screws. Use a #10 Torx driver.
- Pull the rear housing away from the front panel. Take special care not to damage any cables.
- Flip the housing forward. Take special care not to damage any cables.


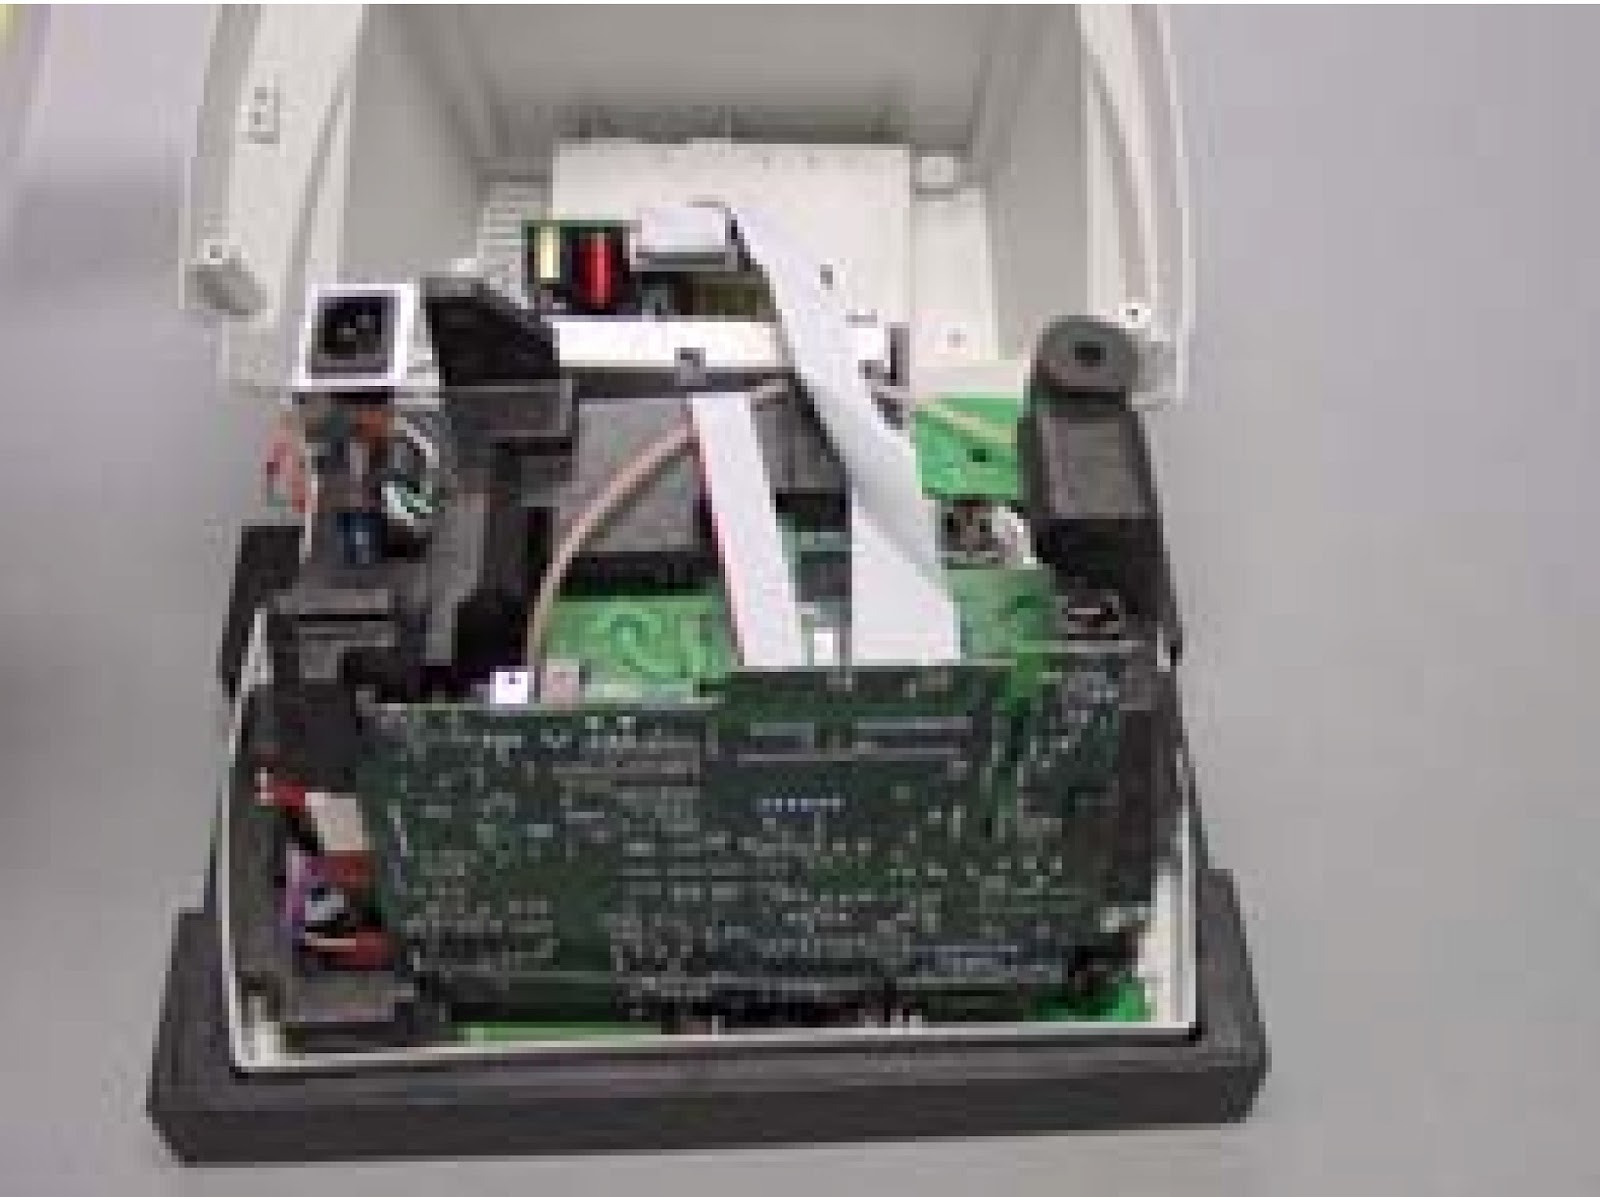
Observe how hose fits in E-Pac Foam. The hose
fits over wiring keeping wiring secure.
Printer cable and Display Cable Removal
- Remove both Printer and Display PCB cables from the Main PCB.

Power Supply Ground Wire Removal
- Remove the two ground connectors from power supply chassis.

Tie Wrap Removal
- Cut the tie wrap that secures the ground wires to the E-pac foam.
- Remove the CPU from the Main PCB.


Main PCB Removal
- Use a tool T-16654 to pry the main Board away from the Deflection Board. Pull the E-pac tab to the right as you pry. Support the Main PCB while titling it away.
- Remove the four connectors(power supply, fan, speakers, BP pump) from the side of the main PCB.


Main PCB Hose and Wire Removal.
- Disconnect hoses and connectors. BP hose, ecg cable, temp cable (modles 622 and 623 only, SpO2cable, CO2cable (model 623 only)and ground wire (NelcorSpO2only) from main PCB.
Pump Removal.
- Remove the pump assembly from the EPac foam.


CO2Exhaust Removal.
- Remove the CO2exhaust cover and remove the CO2 connector from the E-Pac foam.
- Remove connectors from Pryon PCB. Pull Pryon PCB from E-Pac foam.

