- Disassemble the fixed four screws of stand. Remove the base and stand following the direction of arrowhead showed.


- Disassemble the fixed 4 screws of the back cover.

- Insert a plastic card or abandoned IC card in the bottom of the monitor, between bezel and back cover, and remove the back cover.


- Disassemble the two screws and 3 connects pins of KEPC board.

- Disassemble 2 screws and 4 pins that fix the shield, and remove the shield the direction of arrowhead.


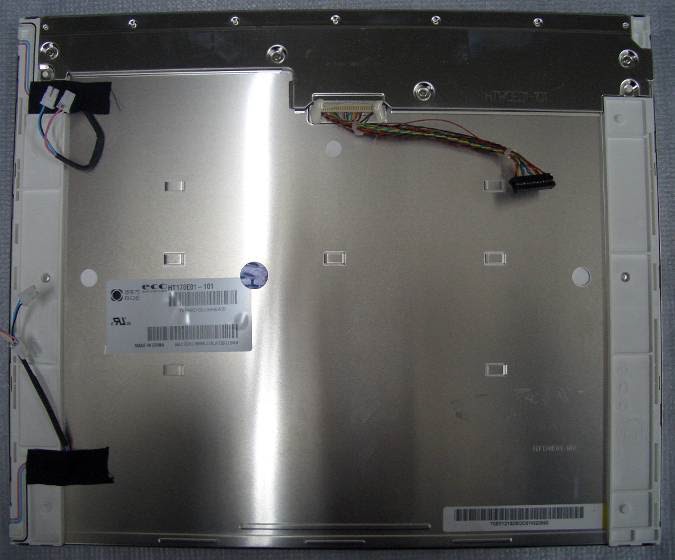
- Disassemble connect pins of the main board to panel.


- Remove the bezel.

- Disassemble screws that fix the panel. That's all. Process is over.

EXPLODED VIEW

Click on image.
Right click on the enlarged image, save image as, to a folder (My
document > My Pictures). View it in ‘Picasa’ picture viewer. There you can enlarge it more. Download ‘Picasa-3’ by Google site, and
install it to your system. It’s a free software from Google.
No comments:
Post a Comment