
- Cut "A" portion of the attached remote control unit as shown.

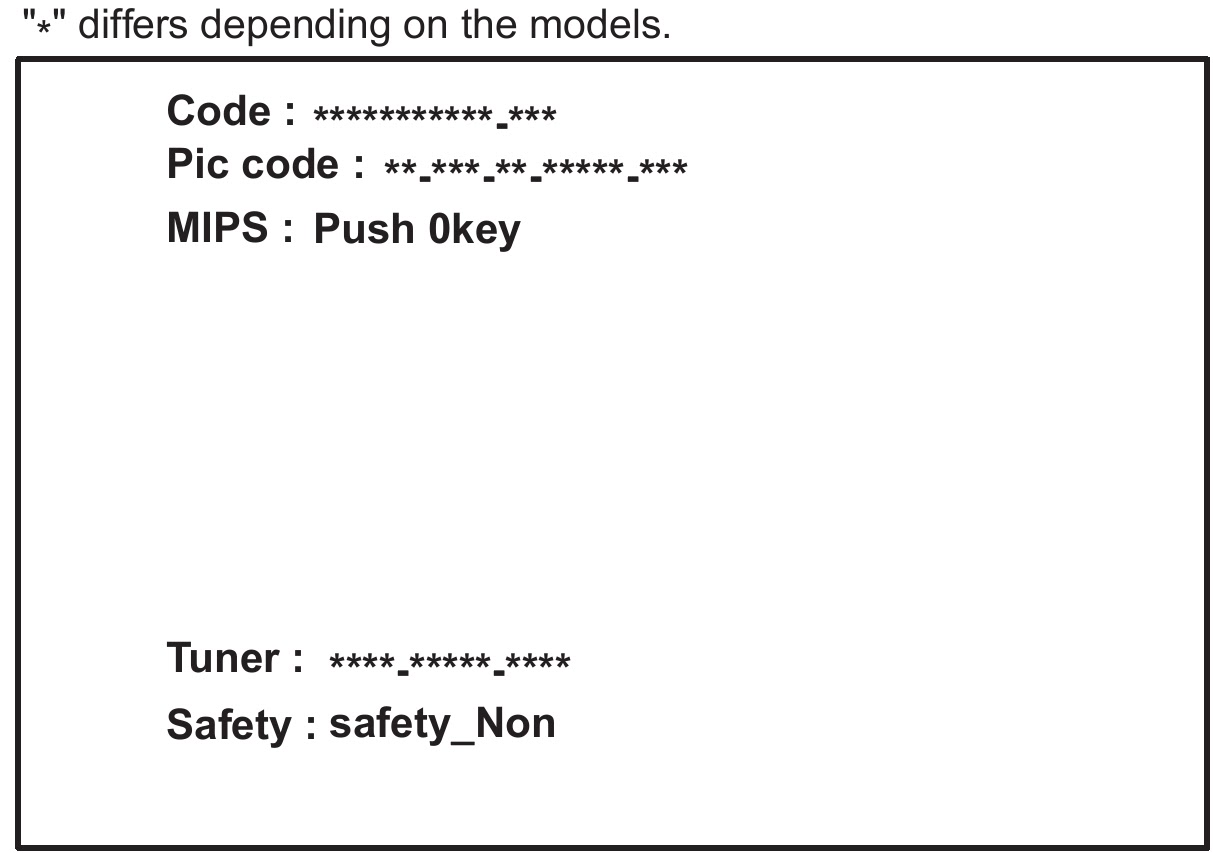
- Use the service remote control unit.
- Turn the power on.
- Press the service button on the service remote control unit. The following screen appears.
DVD SECTION INITIALIZATION
- Turn the power on.
- To enter the service mode, press the service button on the service remote control unit.
- To cancel the service mode, press [POWER] button on the service remote control unit.
- To put the LCD TV/DVD into the DVD mode, press [CH RE-TURN] on the remote control unit.
- To put the LCD TV/DVD into the Flash clear mode, press [INPUT SELECT] buttons on the remote control unit in that order within five seconds. The following screen appears.

- When "OK" appears on the screen, the factory default will be set.
- To exit this mode, press[CHANNEL UP/DOWN] button to go to TV mode, or press [POWER] button to turn the power off.
INITIALIZING LCD TV SECTION
- Turn the power on.
- To enter the service mode, press the service button on the service remote control unit.
- To cancel the service mode, press [POWER] button on the service remote control unit.
- Press [INFO] button on the service remote control unit to initialize the LCD television.
- "INITIALIZED" will appear in the upper right of the screen. "INITIALIZED" color will change to green from red when initializing is complete.
FIRMWARE RENEWAL MODE [DVD SECTION]
- Turn the power on and press [EJECT] button on the remote control unit to put the LCD TV/DVD into DVD mode. Then remove the disc.
- To put the LCD TV/DVD into F/W version up mode, press [9], [8], [7], [6], and [MODE] buttons on the remote control unit in that order. The following screen appears.

- Insert the disc for version up into the disc slot.
- The LCD TV/DVD enters the F/W version up mode automatically. Fig. b appears on the screen. Make sure to insert the proper F/W for the state of this model.

- After programming is finished, the disc will be ejected automatically. Fig. c appears on the screen and the check-sum will be shown.

LCD TV SECTION
Equipment required
- USB memory
- Remote Control Unit
FIRMWARE UPGRADE PROCEDURE
There are two states (the User Upgrade and the Factory
Up-grade) in firmware update.
- User Upgrade à Upgrade the firmware only. The setting values are not initialized.
- Factory upgrade à Upgrade the firmware and initialize the setting values.
The identification of User Upgrade and Factory Upgrade are done
by the file-name.
- Turn the power off and unplug the AC Cord.
- Insert the USB memory to the USB port as shown below.

- Plug the AC cord in the wall outlet and turn the power on.
- The update will start and the following will appear on the screen.
- If the screen isn’t displayed, repeat from step 1.

- When the firmware update is completed, the following will appear on the screen.
- Unplug the AC cord and kindly remove the USB memory from the USB port. Plug the AC cord in the wall outlet again and turn the power on.

When the Factory Upgrade is used, after
restarting TV, shift to initial screen menu in service mode.
"INITIALIZED" will appear on the upper right of the screen.
"INITIALIZED" color will change to green from red when initializing
is complete.